As more clients require parallel views of the same data, maintaining base members between primary and alternate hierarchies has become a standard demand. This guide walks through the full process — from creating your alternate top node to validating sync — using a practical example where a primary rollup T needs an alternate rollup ALT_T.
Part 1
Setting up the alternate hierarchy
Create the alternate top node
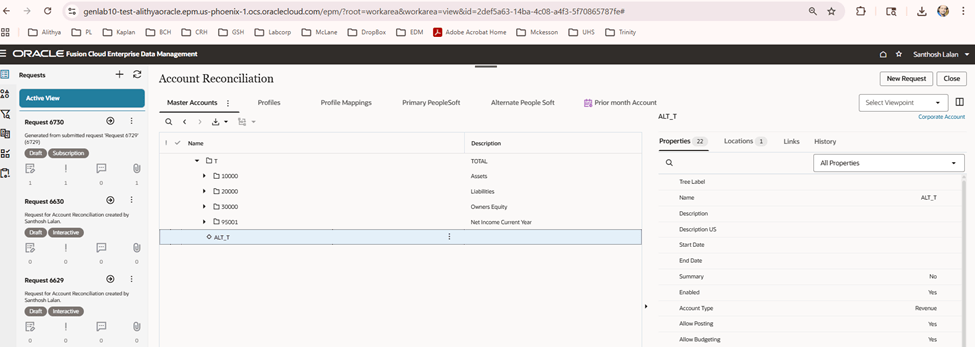
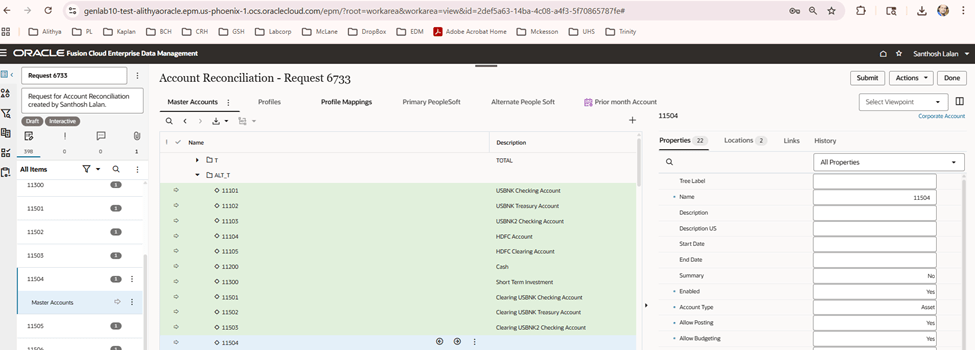
Open your viewpoint and click New Request. Select Add New Top Node and create a member named ALT_T. This becomes the root of your alternate hierarchy..
Download base members from the primary hierarchy
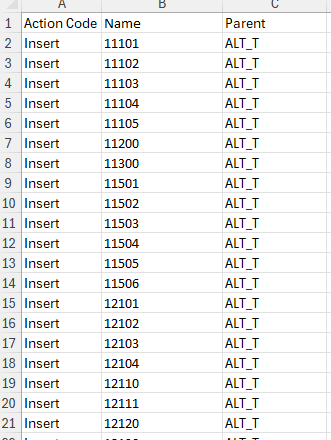
Export all base members from the primary hierarchy T. Use these to prepare a load template in Excel with exactly three columns:
| Column | Header Name | Value |
|---|---|---|
| A | Action Code | Insert |
| B | Name | Member name |
| C | Parent | Parent node |
Important
Add and Insert are entirely different action codes. Use Add only when creating brand-new nodes. Use Insert when placing existing members into an alternate hierarchy.
Download all the base members from the primary hierarchy and create a excel sheet with all the base members . use these three column headers Action Code as “Insert” as we are inserting a member here and not adding . Add and insert are completely two different action codes. Add is for adding new nodes and Insert is for inserting the members in to the alternate hierachies. Just add Name and parent headers too.
Load the template into a new request
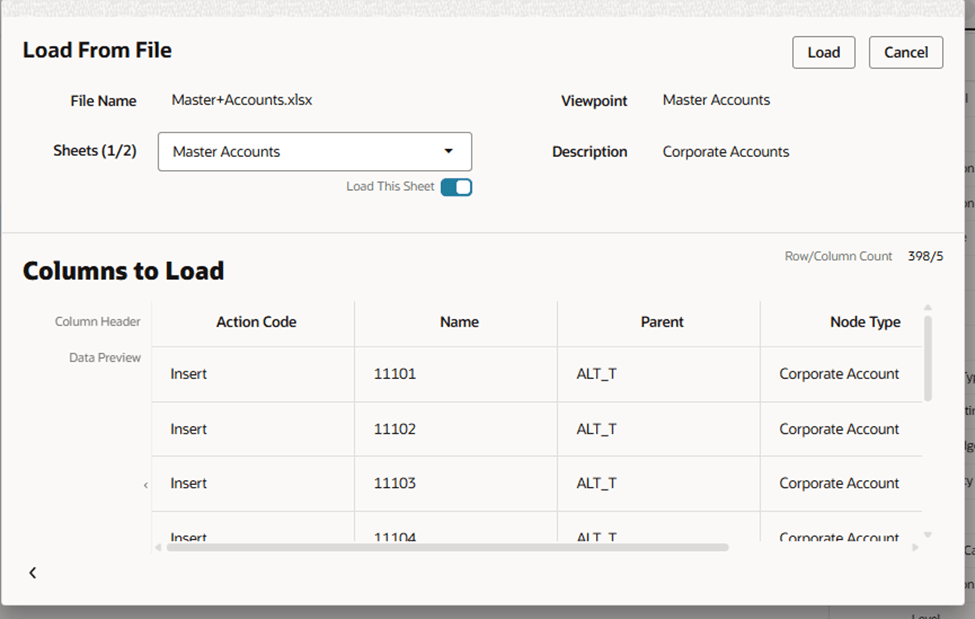
Create a new request and upload the Excel template. A dialogue box will appear showing all details from the file — any errors in the file will surface here before anything is committed.
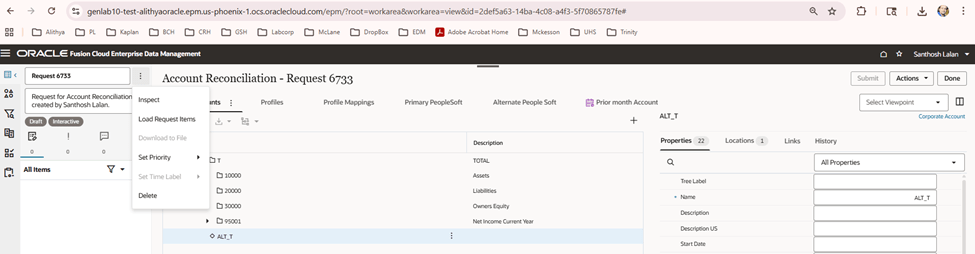
Below dialogue box pops up with all the details , any error in the file will be displayed here too.
Submit the request
Click Load, then confirm on the following page. The base members will be inserted into the alternate hierarchy ALT_T.
Part 2
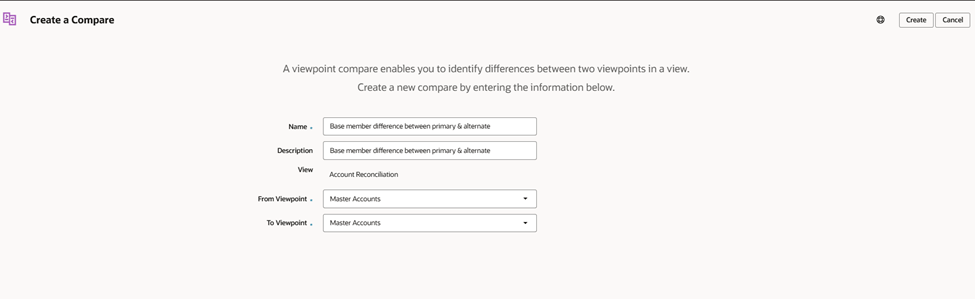
Creating a compare profile
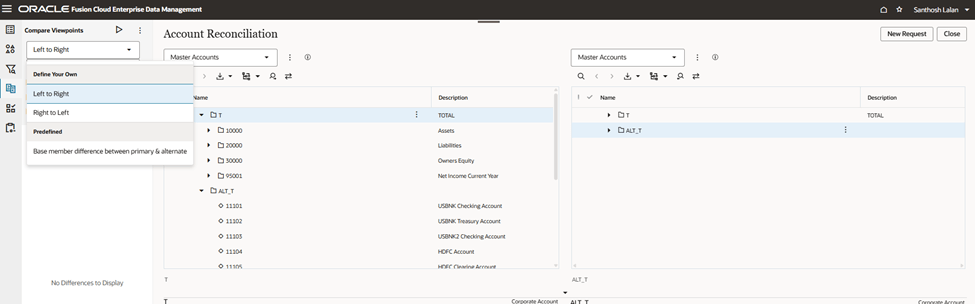
Navigate to the compare tab
Inspect your viewpoint and open the Compare tab. Start creating a new compare profile.
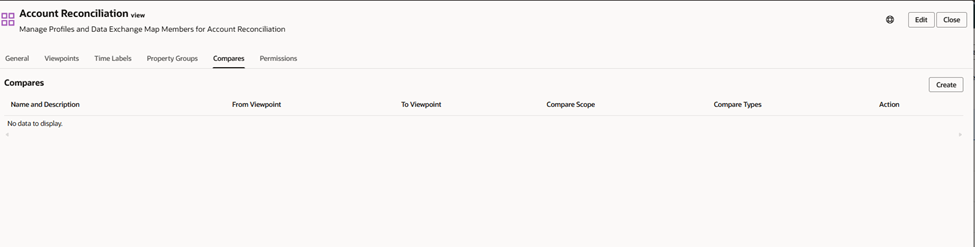
Inspect a viewpoint and navigate to compare tab.
Start creating a compare profile
Configure the definition
In the Definition tab, set the From Node to the primary hierarchy and the To Node to the alternate hierarchy ALT_T.
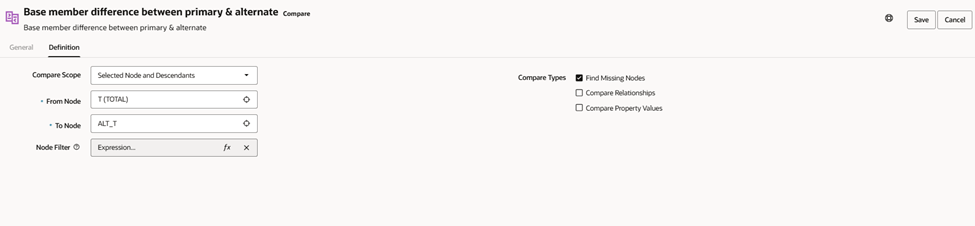
Set the node filter
In the Node Filter tab, configure the comparison based on your client’s requirements. In most cases, comparing only bottom nodes (leaf/base members) is the right approach.

Part 3
Running the comparison and syncing members
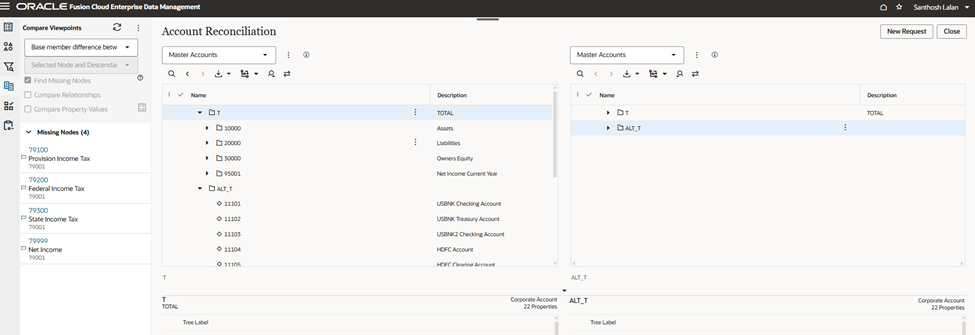
Execute the compare profile
On the Compare tab, locate the newly created profile and run it. The comparison report will highlight members that exist in the primary hierarchy but are missing from the alternate hierarchy.
Select this compare profile and execute it .
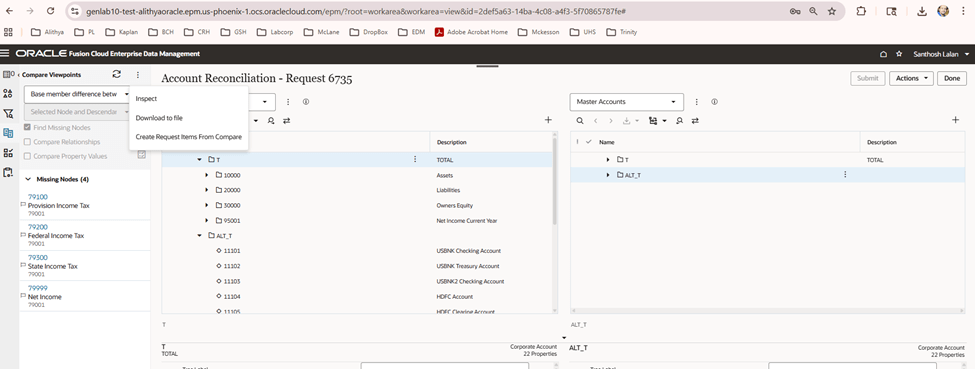
Create a request from the compare report
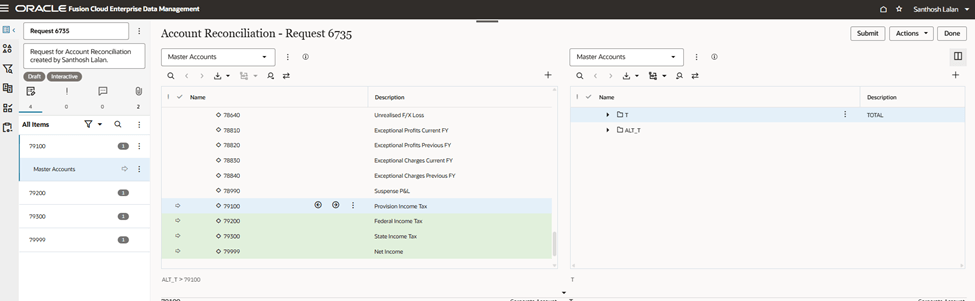
Click New Request and choose Create Request from Compare. This automatically populates the request with all members identified in the comparison report.
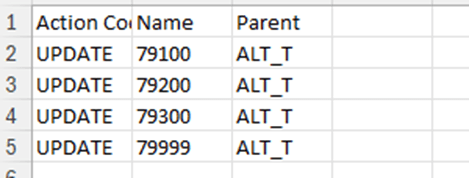
Update the parent to ALT_T
Download the attachment from the request. In the file, update the Parent column for each member to ALT_T. This ensures the new members roll up under the correct alternate hierarchy node.
Review and submit
Upload the updated file back to the request, review all changes, and submit. The missing base members will be added to the alternate hierarchy.
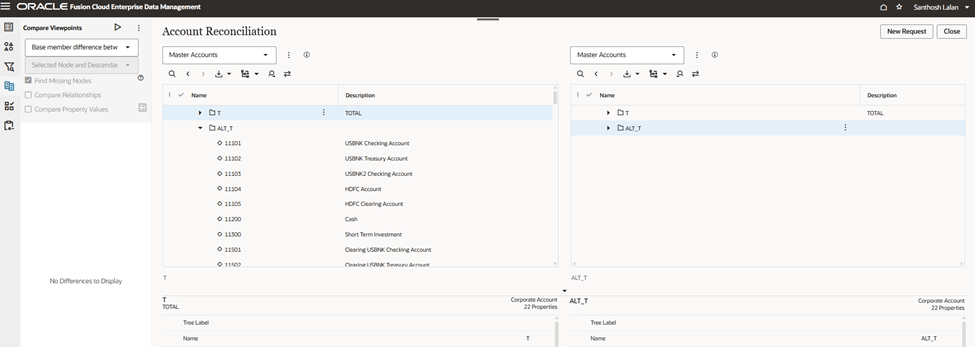
Re-run the compare to validate
Execute the compare profile one more time. If the report comes back with zero differences, the primary and alternate hierarchies are fully in sync.
Best Practice
Make re-running the compare after every sync a habit. It acts as a built-in audit step that catches any members that may have been missed or misrouted.
Keeping Hierarchies in Sync — A Sustainable Practice
Maintaining base members across primary and alternate hierarchies doesn’t have to be a manual, error-prone task. By combining load templates with the right action codes, and pairing that with a well-configured compare profile, business users can take full ownership of the sync process — without depending on technical teams for every update.
The real power of this approach lies in the compare profile. Once it’s set up, it becomes a reusable audit tool. Every time new base members are added to the primary hierarchy, the same workflow applies — run the compare, generate the request, update the parent, and submit. The process stays consistent regardless of how large or complex the hierarchy grows.
As a best practice, consider scheduling regular compare runs as part of your data governance routine — not just when you suspect a gap. Catching drift early keeps your alternate hierarchies trustworthy and your downstream reporting accurate.

Leave a comment